Tag Archives: java grinder

Java on the Commodore Amiga with Java Grinder, joystick routine, part 3

14 May

In this third episode I’ll create a joystick routine that reads out the joystick / gamepad directions and the fire button.

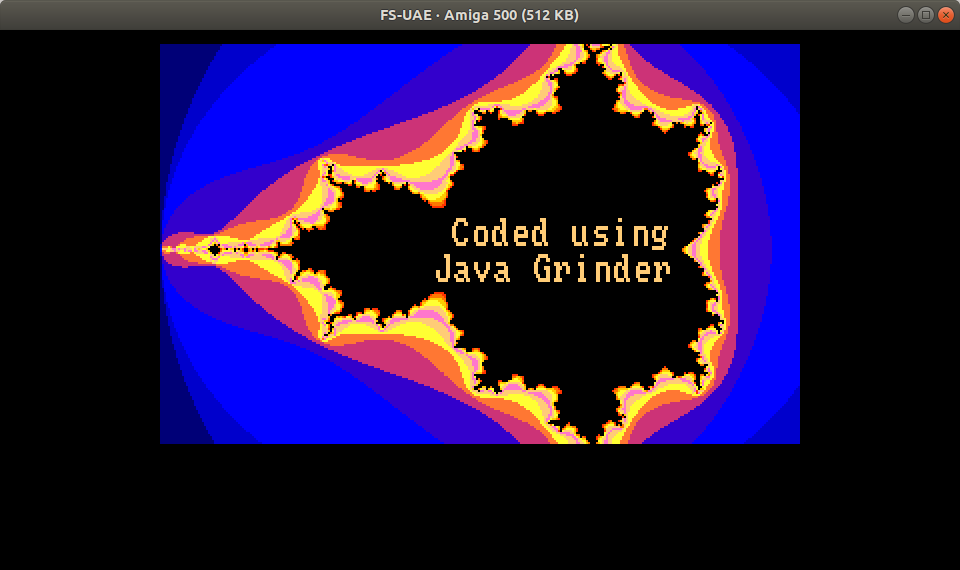
You’ll need a recent version of java grinder as the initial source base for the Amiga didn’t support reading out memory locations. I contacted the author of grinder and the next day these functions were implemented by Michael Kohn into the memory class, thanks Michael.

I took me a while to figure out how the Amiga reads the joy ports, a bit of trail an error I came to this AmigaJoystick class:

import net.mikekohn.java_grinder.Memory;

public class AmigaJoystick {

	static public final int JOY0 = 0;
	static public final int JOY1 = 1;
	static final int JOY0DAT = 0xDFF00A;
	static final int JOY1DAT = 0xDFF00C;
	static final int CIAAPRA = 0xBFE001; // 8bit
	static public final int FIRE0 = 0x40;
	static public final int FIRE1 = 0x80;
	static public final int JOYLEFT = 0x0200;
	static public final int JOYRIGHT = 0x0002;
	static public final int JOYUP = 0x0100;
	static public final int JOYDOWN = 0x0001;


	public static int getDir(int joy) {
		int dir = 0;
		if (joy == 0) {
			dir = Memory.read16(JOY0DAT);
		} else {
			dir = Memory.read16(JOY1DAT);
		}

		if (((dir >> 1 ^ dir) & JOYDOWN) == JOYDOWN) {
			return JOYDOWN;
		} else if (((dir >> 1 ^ dir) & JOYUP) == JOYUP) {
			return JOYUP;
		} else if ((dir & JOYLEFT) == JOYLEFT) {
			return JOYLEFT;
		} else if ((dir & JOYRIGHT) == JOYRIGHT) {
			return JOYRIGHT;
		} else {
			return 0;
		}
	}

	public static boolean getFire(int joy) {
		byte fire = 0;
		fire = Memory.read8(CIAAPRA);
		if (joy == 0) {
			if ((fire & FIRE0) == 0x00) {
				return true;
			}
		} else {
			if ((fire & FIRE1) == 0x00) {
				return true;
			}
		}
		return false;
	}

}

Here’s a little example how to use it

    int direction = AmigaJoystick.getDir(AmigaJoystick.JOY1);
    if(direction == JOYDOWN) {
    	...;
    } else if(direction == JOYUP) {
    	...;
    } else if(direction == JOYLEFT) {
    	...;
    } else if(direction == JOYRIGHT) {
    	...;
    }
    
    if(AmigaJoystick.getFire(AmigaJoystick.JOY1) == true) {
    	...;
    }

Please notice that in the emulator the joystick is usually bound to JOY1 port and mouse to JOY0.

In the next episode I’ll tackle the use of text in Amiga grinder, which is quite difficult as no String class is implemented, so watch this space end enjoy coding.

Java on the Commodore Amiga with Java Grinder, part 2

12 Apr

In this second episode I’ll setup the linux Amiga emulater fs-uae as a basic Commodore Amiga 500 system with 512kb of chip ram. I also configure a harddrive so we can easy copy the generated amiga_demo binary to the Amiga emulation.

So let’s start.

Not necessary but I prefer to have the workbench disk on my local drive, you could read it from the mounted iso as showed in part 1.

The files are located on the cd AmigaForever: Amiga files -> Shared -> adf

I’ve copied them to a local folder ‘Amiga’ on my laptop. (/home/luc/amiga/Shared/adf)

In the same ‘amiga’ folder I created a new folder ‘driveA’ which I’ll use as an emulated harddrive later on. (/home/luc/amiga/driveA)

Open fs-uae and create a new profile.

Give a name to the configuration, ex. ‘Amiga 500 chip’, press the button next to the text input to save your configuration later on when we have configured everything.

Before you can select your Amiga model as in the picture above you need to import the kickstart roms.

Click the Amiga checkflag logo button in the upper left corner (see arrow in picture), in the menu that pops up select ‘import kickstarts’. In the dialog you can choose the source on how to import the kickstart roms (files).

If you have the cloanta iso cd you can import it from there, which I did. Once imported you can select the Amiga model (See picture above). For our java grinder test I created a basic A500 model with kickstart 1.3 ROM.

Next you’ll need the workbench disk for v1.3,go to the ‘Floppy drives’ section in the home tab.

Select workbench 1.3 (amiga-os-1.3.4-workbench.adf) from the iso cd Amiga files -> Shared -> adf or from the local copy I made earlier on in the Amiga folder.

Next move to the ‘Harddrives’ tab.

You can assign 4 harddrives to the emulation (DH0:, DH1:, DH2:, DH3:).

For our example we’ll need 1 drive, click the yellow folder button to select a folder on your linux box. Mine was at /home/luc/amiga/driveA.

Next move to the ‘ROM and RAM’ tab.

Just enable ‘Chip RAM 512kb’ all the remaining option shouldn’t be enabled see picture.

The current version of Java Grinder doesn’t place the gfx data explicit in chip ram, so if you enable fast ram the demo will only work partialy and could crash.

Go back to the ‘home’ tab (main configuration options) and finaly click the button to save the configuration.

Before we can fire up the emulator, we’ll need to do one thing, copy the ‘amiga_demo’ binary created in part 1. Have a look at your samples/amiga folder in the java grinder project it’s around 140,7kb in size.

Copy the binary to the harddrive folder configured earlier on. (/home/luc/amiga/driveA)

Start the emulator by clicking on the ‘Start’ button, lower right.

Once workbench disk has stopped loading double click the Workbench1.3 icon.

Double click in the Workbench1.3 folder the Shell icon.

In the shell type:

cd DHO:

amiga_demo

Enjoy the demo and see you back in part 3.

Java on the Commodore Amiga with Java Grinder, part 1

7 Apr

Okay those who know java are now scratching their heads a java VM on the Amiga ? Not exactly I’ll be using a java byte code to native compiler chain called Java Grinder.

Java Grinder is not limited to the Amiga alone, it supports a lot of older computer systems like the C64, Apple II, Playstation2, Nintendo64, Sega genesis etc…

For more detail about java grinder visit Michael Kohn’s website: http://www.mikekohn.net/micro/amiga_java.php

Before you can use java ginder you need to install naken_asm.

Install naken_asm

Download the naken assembler package from git@github.com:mikeakohn/naken_asm.git, I used Eclipse to download and create a generic project.

The naked_asm also need the libreadline-dev on your linux machine.

sudo apt-get install libreadline-dev

Go to the naken_asm installation directory and type the next commands

cd naken_asm
./configure
make

Install Java grinder

Download the java_grinder project from github git@github.com:mikeakohn/java_grinder.git, again I created an eclipse project.

Build the make files

cd java_grinder
make

cd java_grinder/samples/amiga
make

Install Amiga emulator

Before you can test any code you need an Amiga emulator and some kickstart roms and floppy/hd images.

The emulator for linux

sudo apt-add-repository ppa:fengestad/stable
sudo apt-get update
sudo apt-get install fs-uae fs-uae-launcher fs-use-arcade

This should put some start icon in the ubuntu show application, FS-UAE Launcher and FS-UAE Arcade respectively.

The kickstart files

  • Buy and download these from https://www.amigaforever.com/ (I opted for the plus edition as it comes with all the kickstart rom etc…)
  • Unzip the downloaded file (AmigaForever9Plus.zip)
  • In the zip you’ll find an iso cd image you can mount in ubuntu with right clicking on the file af-dvd.iso then ‘open with disk image mounter’. (If not shown use the ‘open with other application’ and select the disk image mounter from there.)
  • This should put an AmigaForever CD icon on your desktop, double click it to open the cd.
  • The roms files can be found in the path ‘Amiga Files -> Shared -> rom’.

That’s it for part 1, in the next episode I’ll setup the emulator, so I can test the binary demo.

Happy retro coding, with a modern twist.